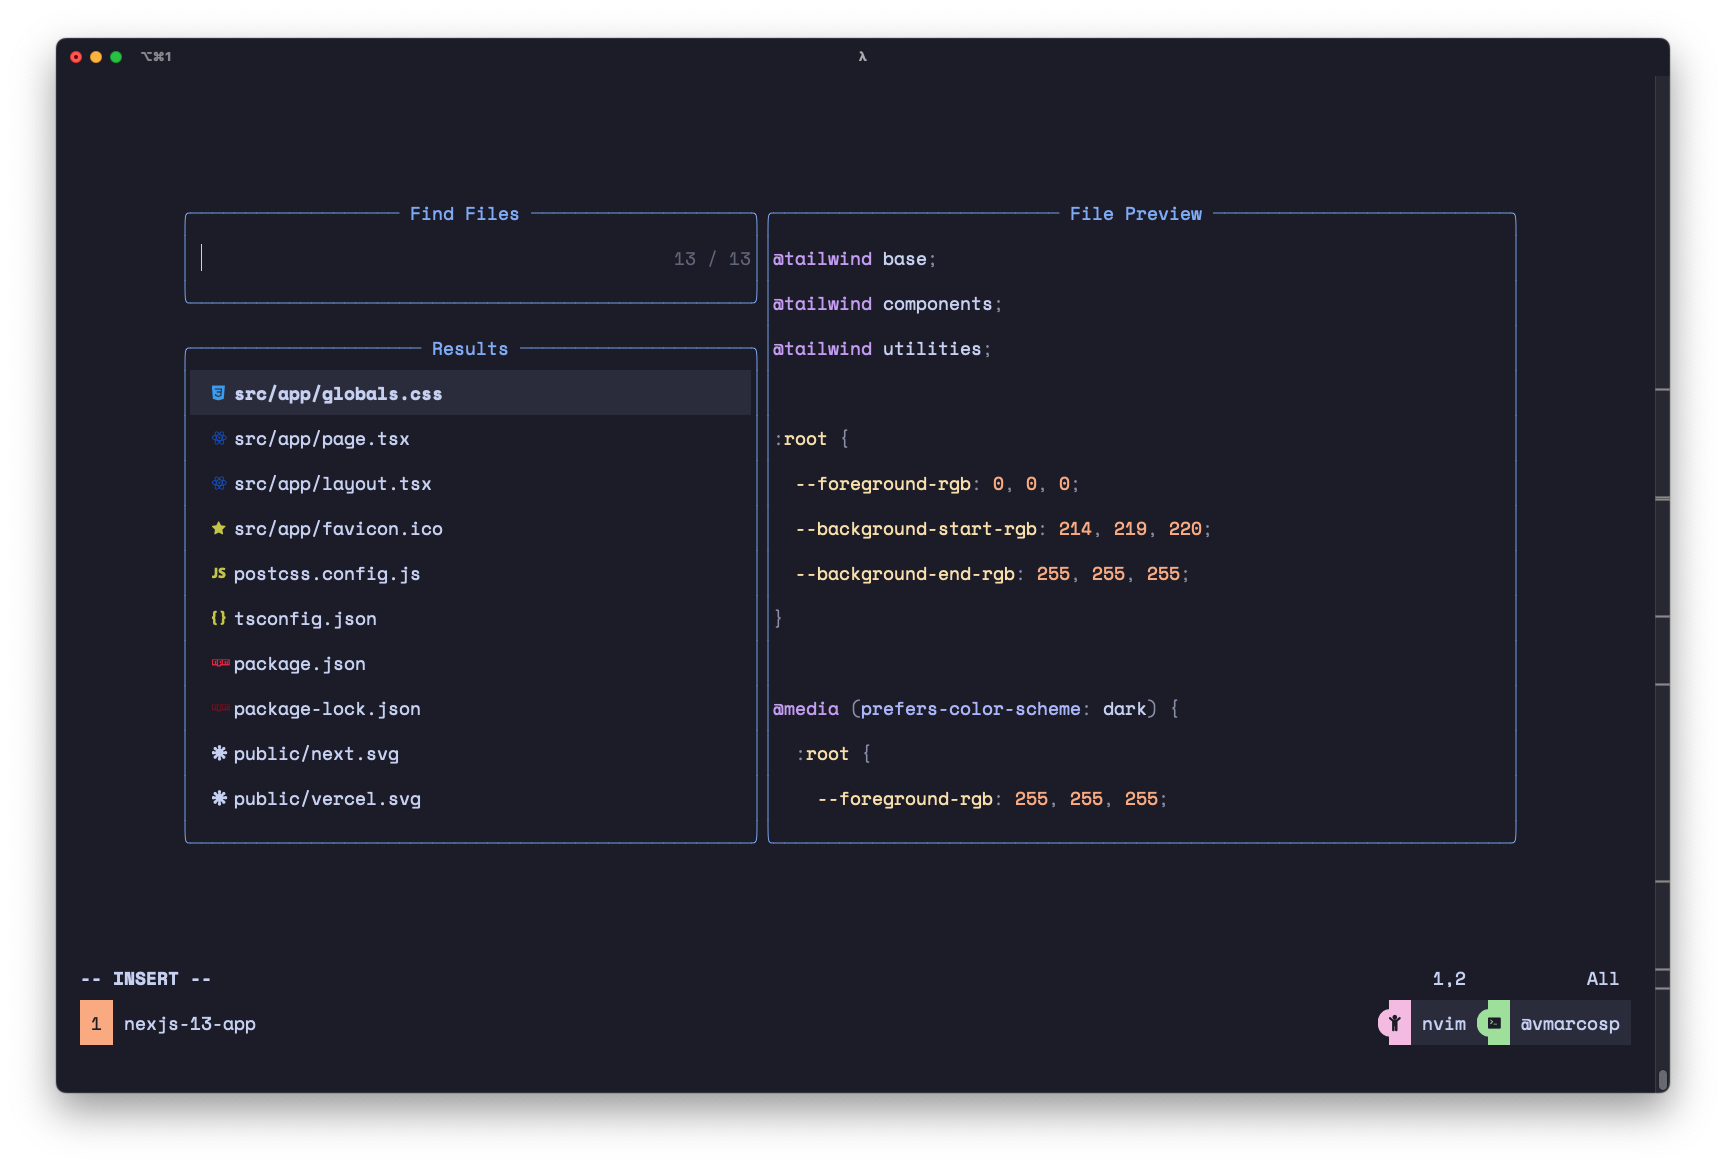
Pre-requisites
For MacOS
- Nodejs
- Git
- Brew
- unzip
For Linux (Ubuntu, Arch, Fedora and WSL2)
- Nodejs
- Git
- unzip
Semi-optional requisites
- A powerline font like NERD Fonts. We’re using SpaceMono Nerd Font in our screenshots. A powerline font is required for a better experience, since we’re using a font-based icons in the file explorer, file finder, etc.
- If you want to achieve the same beautiful results of our screenshots, we recommend you to use a terminal emulator that support custom themes, like Iterm2 (MacOS only) or WezTerm (Linux and MacOS). Since you’re using Better Vim with our default themes (or even with custom themes) you’ll probably want to use the same theme in neovim and in the terminal emulator.
Installing Better Vim
To install Better Vim, you need a terminal or a terminal emulator like Iterm2 or WezTerm. Open your terminal and run the following command:Don’t forget to replace the value of YOUR_LICENSE with your Better Vim license generated by Gumroad. To get your license key, go to your Gumroad account and check Better Vim product page.
Testing your setup
Open your terminal in a project and type nvim. You’ll see a screen like that:
